prepare a MacOS (journalised) formated usb key with a partition smaller than 32gb
download unibeast from tonymacx86
download Mojave from the app store
close the Mojave installer
launch unibeast, it should detect the installer for Mojave and the usb drive you previously formated, click next to all, choosing UEFI for bios setting, leave the rest empty
boot from the usb drive on the P2 Max
create a MacOS journalised partition from the live usb on your main drive (using disk utility, be careful not to erase your whole drive )
Install Mojave on the newly created partition
wait for it to install, it will reboot so I recommend you should set your usb drive as first boot option in bios setting
when Mojave is Installed and is booted mount the EFI partition on your main drive and the efi partition from the usb drive, then copy paste your EFI folder from the usb efi partition to the drive efi partition ( use clover configurator to easily mount efi partitions or search for the command line to use if you’re comfortable enough )
modify you config.plist as needed and Install needed kexts for the system to properly use all functionality ( I use hackintool )
You have to make a free account with Insanely Mac to download the link. HOWEVER, this EFI will only work on BIOS version 0.22 I think (or earlier), maybe even 0.21. It was working great for me with Mojave until I stupidly updated the BIOS to 0.24 and now no longer works. I have reached out to the original creator of the EFI to see if he is updating it for the new BIOS, but no response alas! Everything was working apart from WiFi (which is Intel and will never be supported) and touchscreen. I’m hoping others are working on it and we’ll have a tiny touch screen MacBook Mini soon!
I’ve managed to get Catalina working on my p2max, everything is fine except for an issue with the DSDT.aml file.
Clover won’t start the system if I use DSDT.aml so I had to choose BIOS.aml option instead.
The downside is that I can’t get battery management.
Does anyone know how to deal with it.
I’d really appreciate any help.
Thx.
Hey guys, sorry for the late reply. @juniorlemos in your "patched’ folder change the file DSDT_2.aml file to DSDT.aml and remove the original DSDT.aml file. You and I have the 2nd batch which requires the optional DSDT. Good luck!!
I thank you guys anyway, but I’ve already tried it with both the DSDT files inside @Space EFI Folder, but unfortunately it doesn’t work for me.
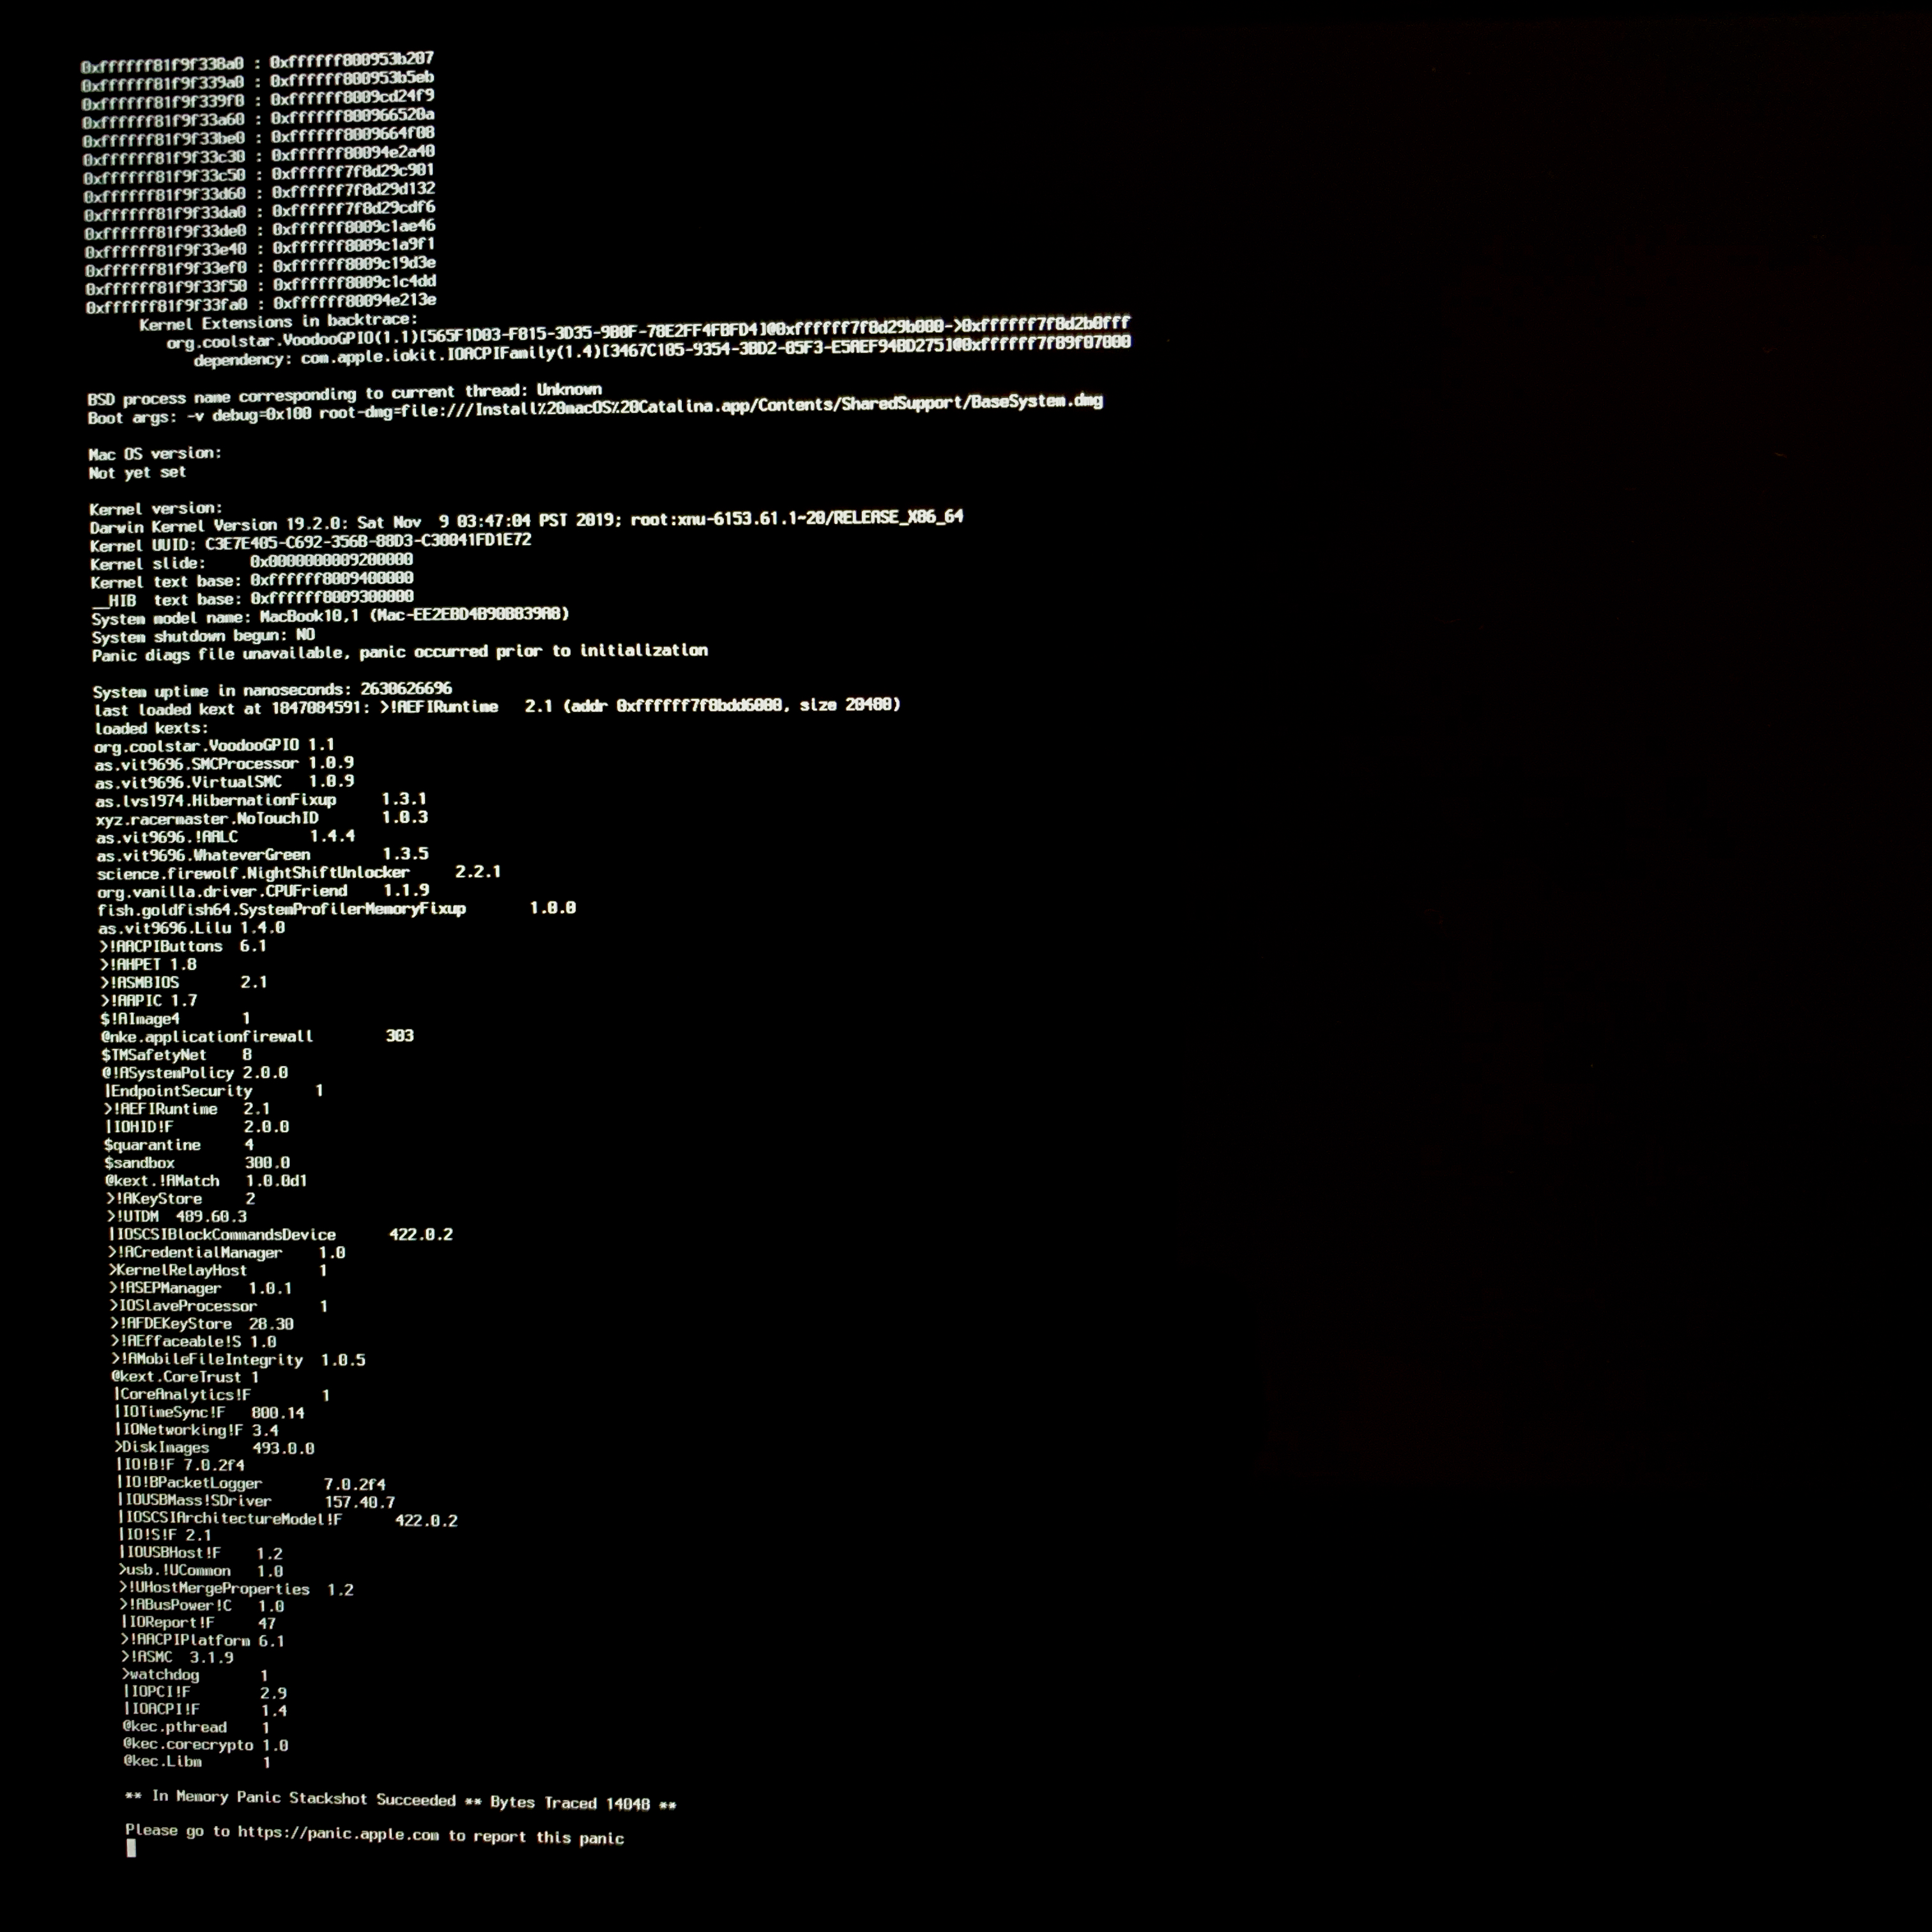
Whenever I try to boot the system using one of these DSDT files, the progress bar goes only half way then restarts. I’ve tried it using “-v debug=0x100 keepsyms=1” arguments, then I get the message in the attached picture.
I’ve also tried to patch it myself, by extracting my own machine’s DSDT files and using iasl and MaciASL. Although I’ve successfully managed to compile the files and get the system to boot using them, I still can’t get battery status.
But I won’t give up, maybe I’ll start from scratch and see what happens.
Thx
Hey so sorry. I forgot that the final EFI is now at https://github.com/Azkali/GPD-P2-MAX-Hackintosh. This is the latest working EFI with many fixes from my original. Working on 0.24 & 0.25 FW. Good luck!
I’m having a problem booting the Catalina installer on my P2 Max with BIOS version 0.24.
I created the Catalina USB installation media using the createinstallmedia command on a real Mac with the official Catalina installer from the App Store.
Using the 2nd DSDT file doesn’t seem to make a difference and boot results in a similar KP.
I haven’t managed to get the Mojave installer to boot, either. Other EFI folders (including the one I downloaded from the GPD website) produce different errors and I’m not able to reach the installer.
Hey guys - thought I’d chime in here as I’ve had the same issues as described.
I’ve currently got everything running on firmware 0.24 using the EFI folder linked here. Attachment name is GPD P2 MAX 0.24_v1.1.zip.
This is a different configuration to the one supplied by Space and doesn’t require the use of DSDT patching to bring complete support (including battery management).
I also enabled USB Injection, USB Ownership and Inject Clock to resolve sleep issues when you have USB devices connected (such as a Wifi dongle).
There is still a little weirdness around lid close detection however manual sleep via the menu bar seems to be perfect.
Further to my last message I would recommend adding the CPUFriend kext otherwise the CPU will have a minimum clock of 1.2 GHz causing unnecessary battery loss.
For reference Windows will step down to ~0.5 GHz at idle.
Here is an easy one key CPUFriend configurator. Run this and set your minimum clock 500Mhz then copy the files to your EFI Clover folder. I’ve also disabled CFG Lock on my BIOS but I’m not sure if that’s required.
Either way this yields similar battery life to Windows now at around 5 hours for regular usage.
On another note I’ve discovered 4K output via USB-C and Mini HDMI is broken on all available configurations. I’ve tried a few well known fixes (stolenmem increase, custom resolutions via EDID override, activate monitor on wake) but haven’t managed to crack this yet. Will post back here if I discover anything.
Hi @tonyorlando, I appreciate your help, but the provided link isn’t working anymore.
Could you please upload your EFI folder and send me the link.
Thank you.