Hi all,
I just wanted to let you all know about a brilliant method (and in my opinion a much cleaner method) to flashing bios from a USB stick rather than running the GPD Windows Executable files.
SOURCE CREDIT & THANKS: https://www.reddit.com/r/GPDPocket/comments/cwc9zv/p2_max_initial_impressions/
Thanks to @PeterCxy and Stone-D for the solution and for permission to re-publish here and add screenshots.
I tried this myself last night and can confirm it worked brilliantly.
PRE-REQUISITES THAT YOU WILL NEED BEFORE WE START:
- You will need the smallest USB drive you can find (More than 10MB and formatted to FAT)
- @PeterCxy file from here: https://drive.google.com/open?id=1BsD8YTEbSwtU6ZVHg2uAXauRRB4Q4P5H
- Make a backup copy of that file somewhere and keep it safe as the GPD rar files do not contain the same files. You will need this file if you ever need to create a USB pen again for any new BIOS released by GPD. Perhaps a simpler option is to just keep a small USB pen drive for GPD Bios Updating (My preference)
- please make sure the SHA1 checksum of the downloaded rar file is 279c7bcaa010884d864d2f3e7e20da78742fd31e
If unsure how to do this follow the below steps:
In Linux or Mac - Open Terminal
sha1sum filename
Working Example
sha1sum /Users/Pete/Downloads/P2MAX.0.20.rar
In Windows - Open Command Prompt
CertUtil -hashfile filename
Working Example
CertUtil -hashfile c:\Users\pete\Downloads\P2MAX.0.20.rar
4. Download 7-Zip from here: Download and Install it.
Method:
-
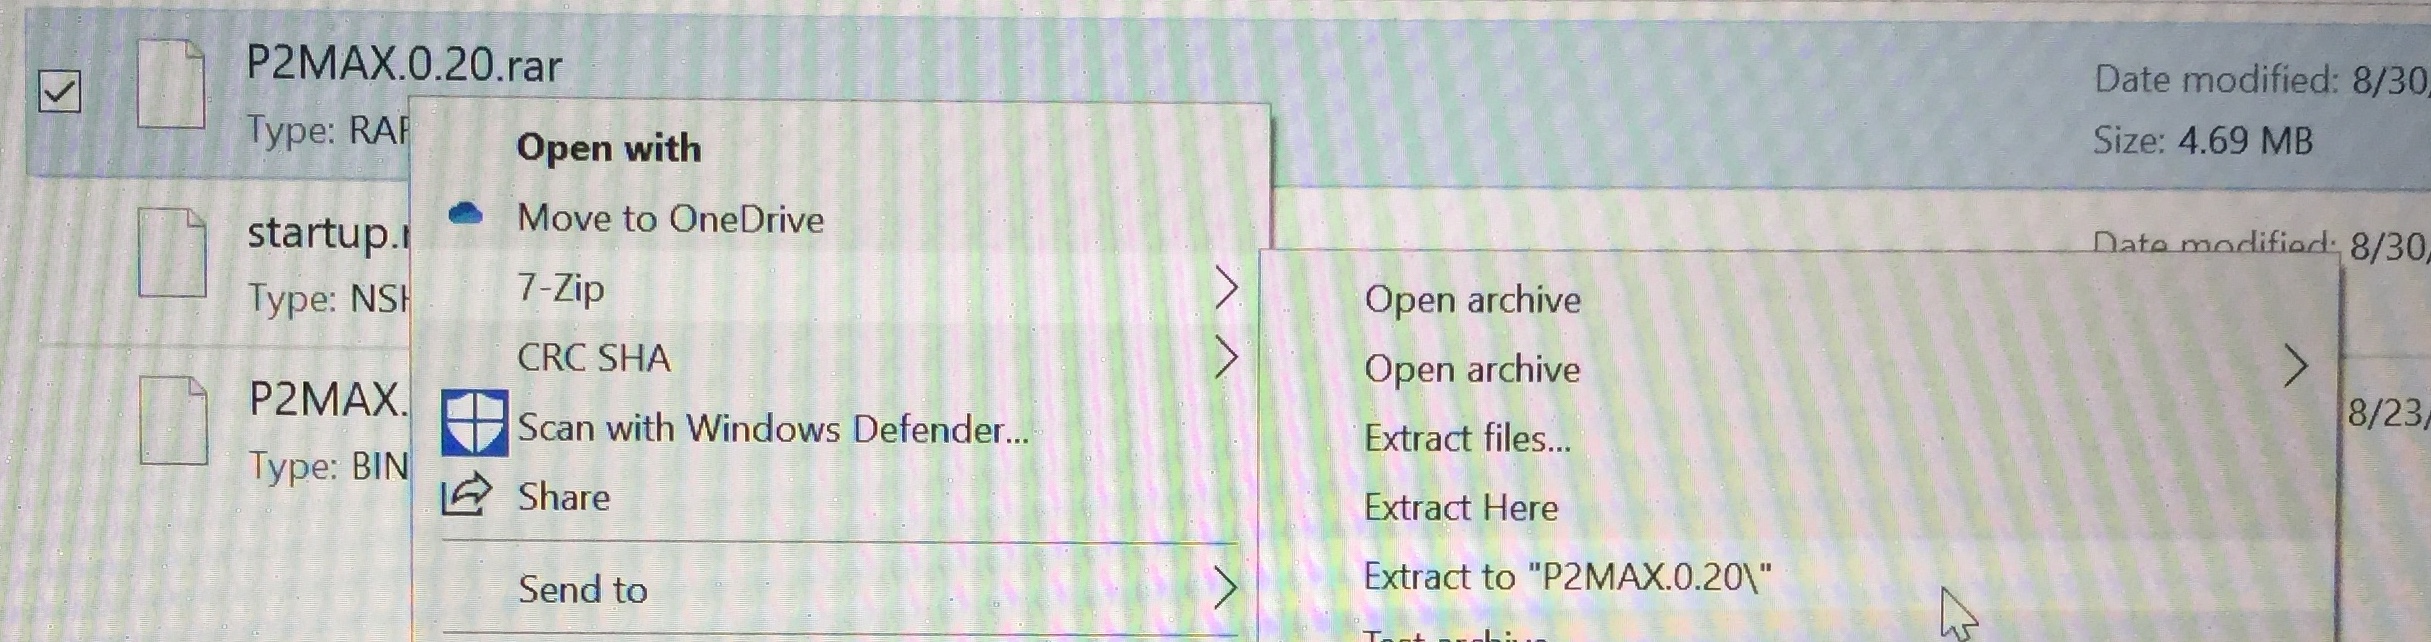
Extract @PeterCxy binary file you obtained in step 2 using 7-Zip
-
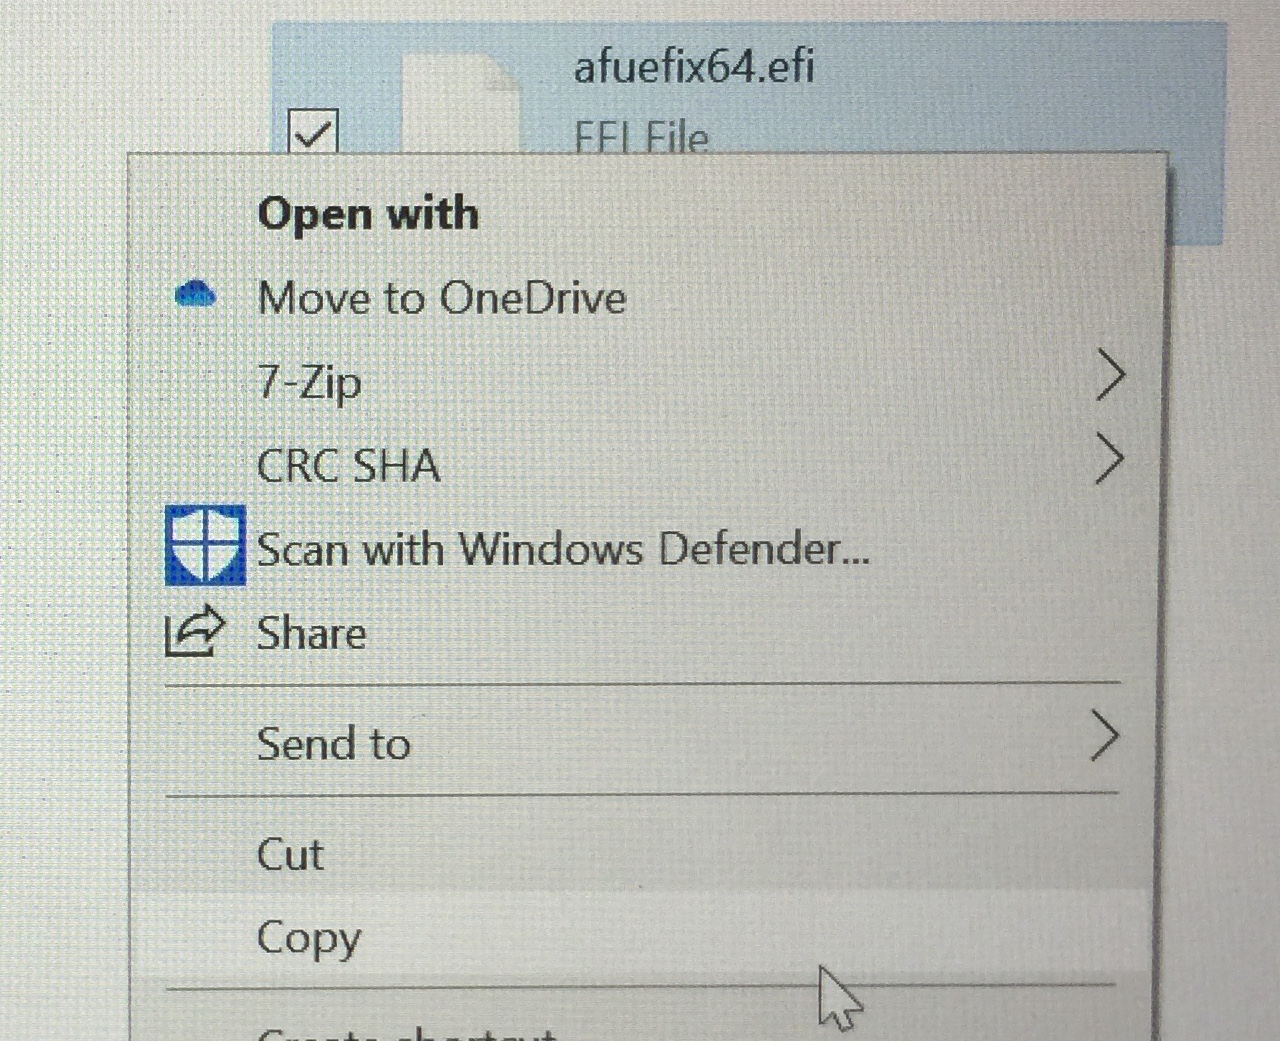
Open location you extracted it to and copy the file afuefix64.efi
-
Insert USB Pen from Step 1 and navigate to the USB pen drive and paste afuefix64.efi to the USB pen drive.
-
Open a basic text editor (notepad for windows) (textedit for mac) (nano for Linux)
and copy all of the text in the box below and paste it into your basic text editor of choice.
echo -off
for %i in fs0 fs1 fs2 fs3 fs4 fs5 fs6
	if exist %i:\%0 then
		%i:
		#===============================================
		# ITE Tech. Inc.
		# UEFI Shell IT8987E eFlash Update
		# FILENAME: "P2MAX.0.20.bin"
		#    BUILD: 2018/11/21-10:58:42
		#===============================================
		afuefix64.efi P2MAX.0.20.bin /p /b /n /r /k
		cls


		reset
		goto: EOF
	else
	echo not find %i
	endif
endfor
:EOF
-
Save this file to the USB Pen Drive as startup.nsh
-
Locate and download the latest version of bios from GPD from their website GPD P2 Max Firmware & Driver & BIOS - Shenzhen GPD Technology Co., Ltd. (HINT: Look for one that ends (BIOS) and then choose the highest version at the time of writing this was P2MAX.0.21-afu.rar
-
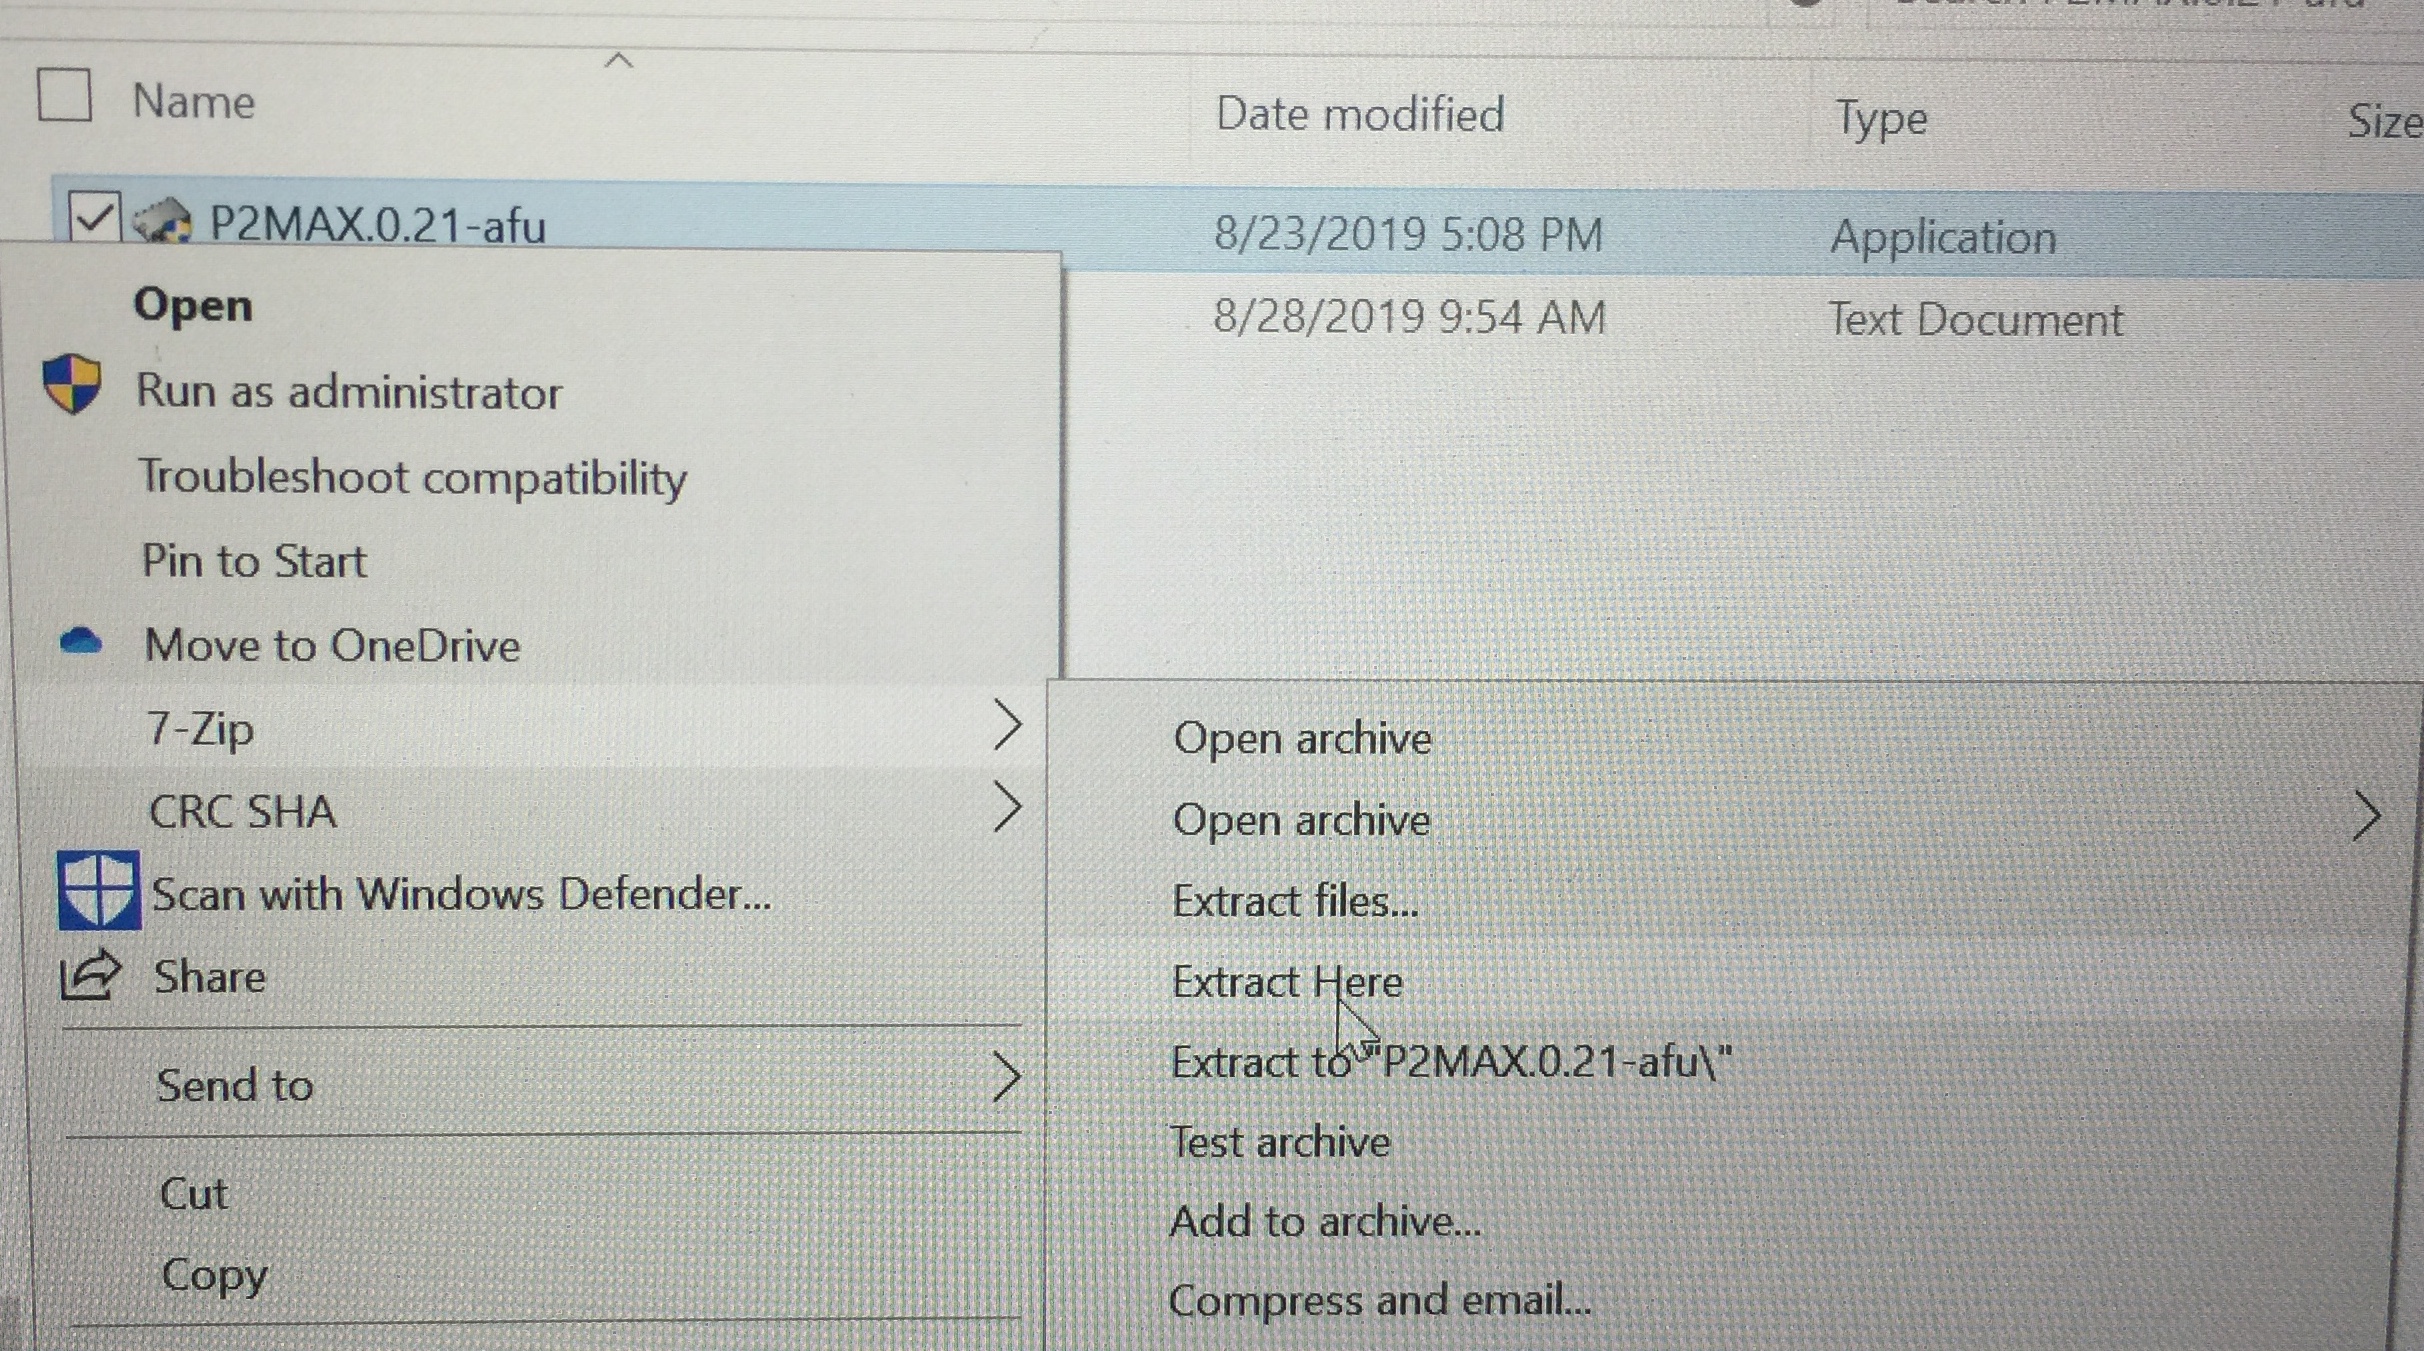
Extract the latest BIOS rar file you downloaded from GPD Website (in our case that is P2MAX.0.21-afu.rar)
-
Once extracted, you want to locate the file P2MAX.0.21-afu.exe and then you want to extract the executable file using 7-Zip
-
Out of all the files that were just extracted you are only concerned with the binary file with the .bin extension. In our case it’s P2MAX.0.21.bin copy this file and paste it to the USB pen
-
Open startup.nsh from the USB pen and find “P2MAX.0.20.bin” and replace with the name of the latest .bin your going to flash in our case this is “P2MAX.0.21.bin”
(Technically you don’t need to do the first in the picture below as that is just a comment)
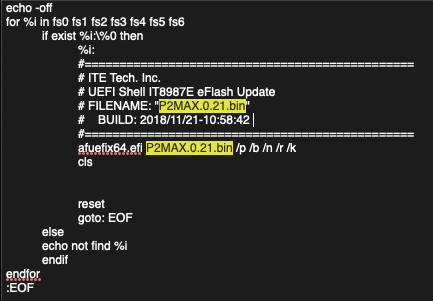
-
Once you have renamed do file and save.
-
You should now have a USB pen drive that looks like this.
-
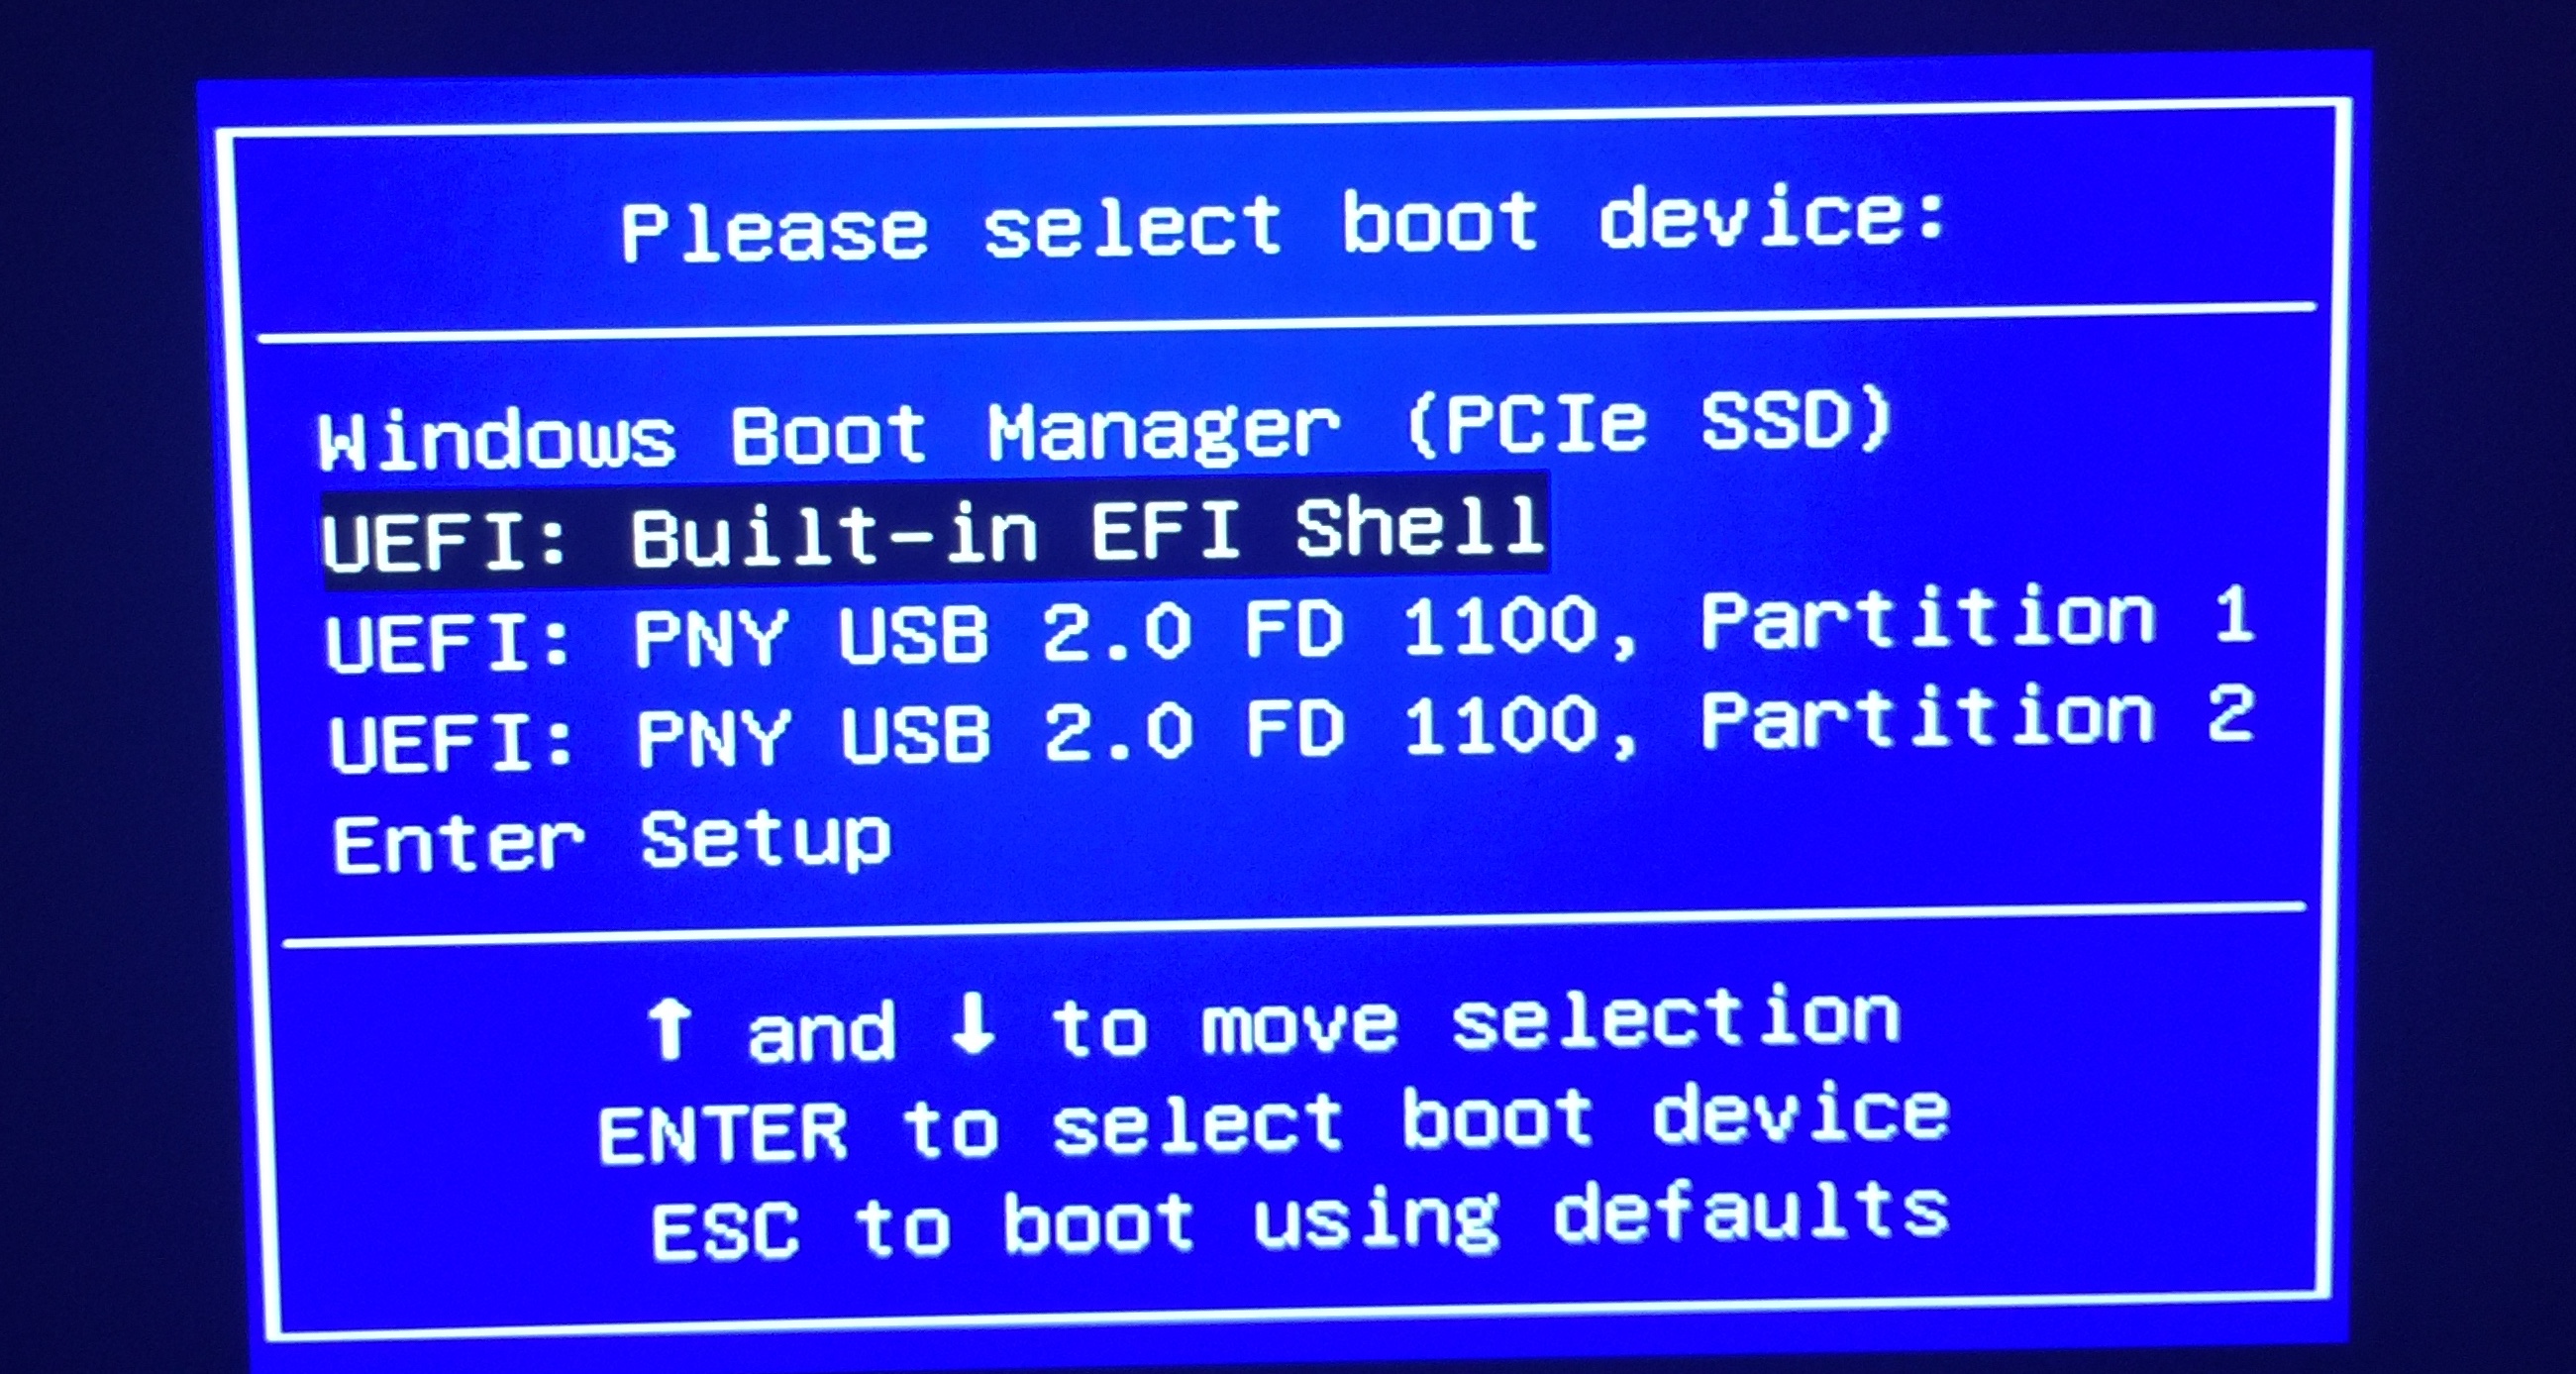
WARNING: Ensure you have mains power connected to the laptop to prevent any battery failure during the flash process. Now reboot the computer with the USB Pen still in the machine and keep tapping Fn and 7 until you see this
-
Choose UEFI: Built-in EFI Shell WARNING: Do not put the system into standby or hibernation and do not press Power, open/close LID, insert or remove USB from this point onwards whilst you are upgrading the BIOS
-
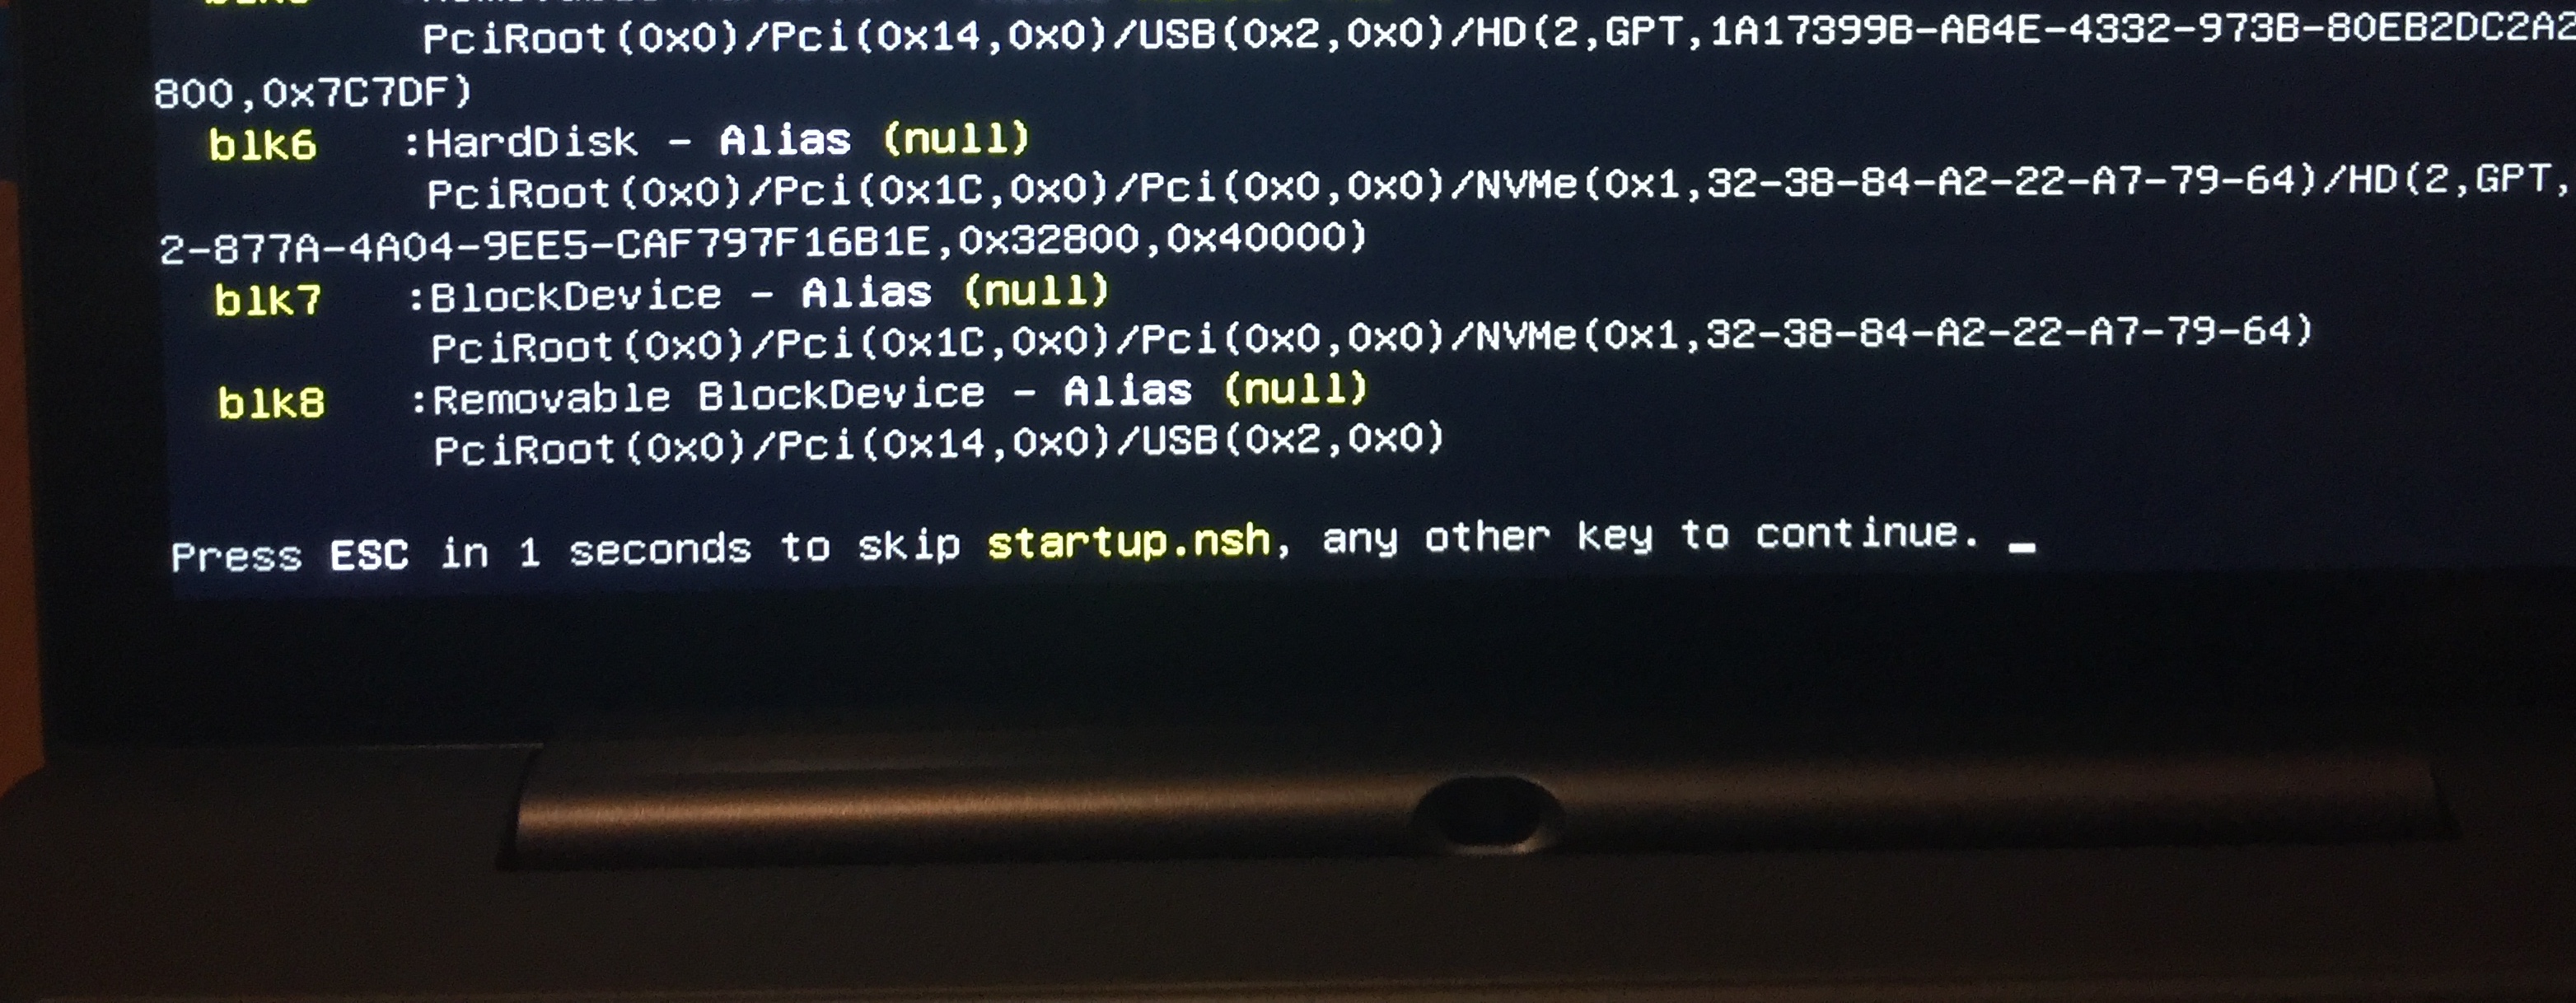
You will see something like this
-
Do not press escape key or if your impatient enough to wait 5 seconds then press another key otherwise just let it count down.
-
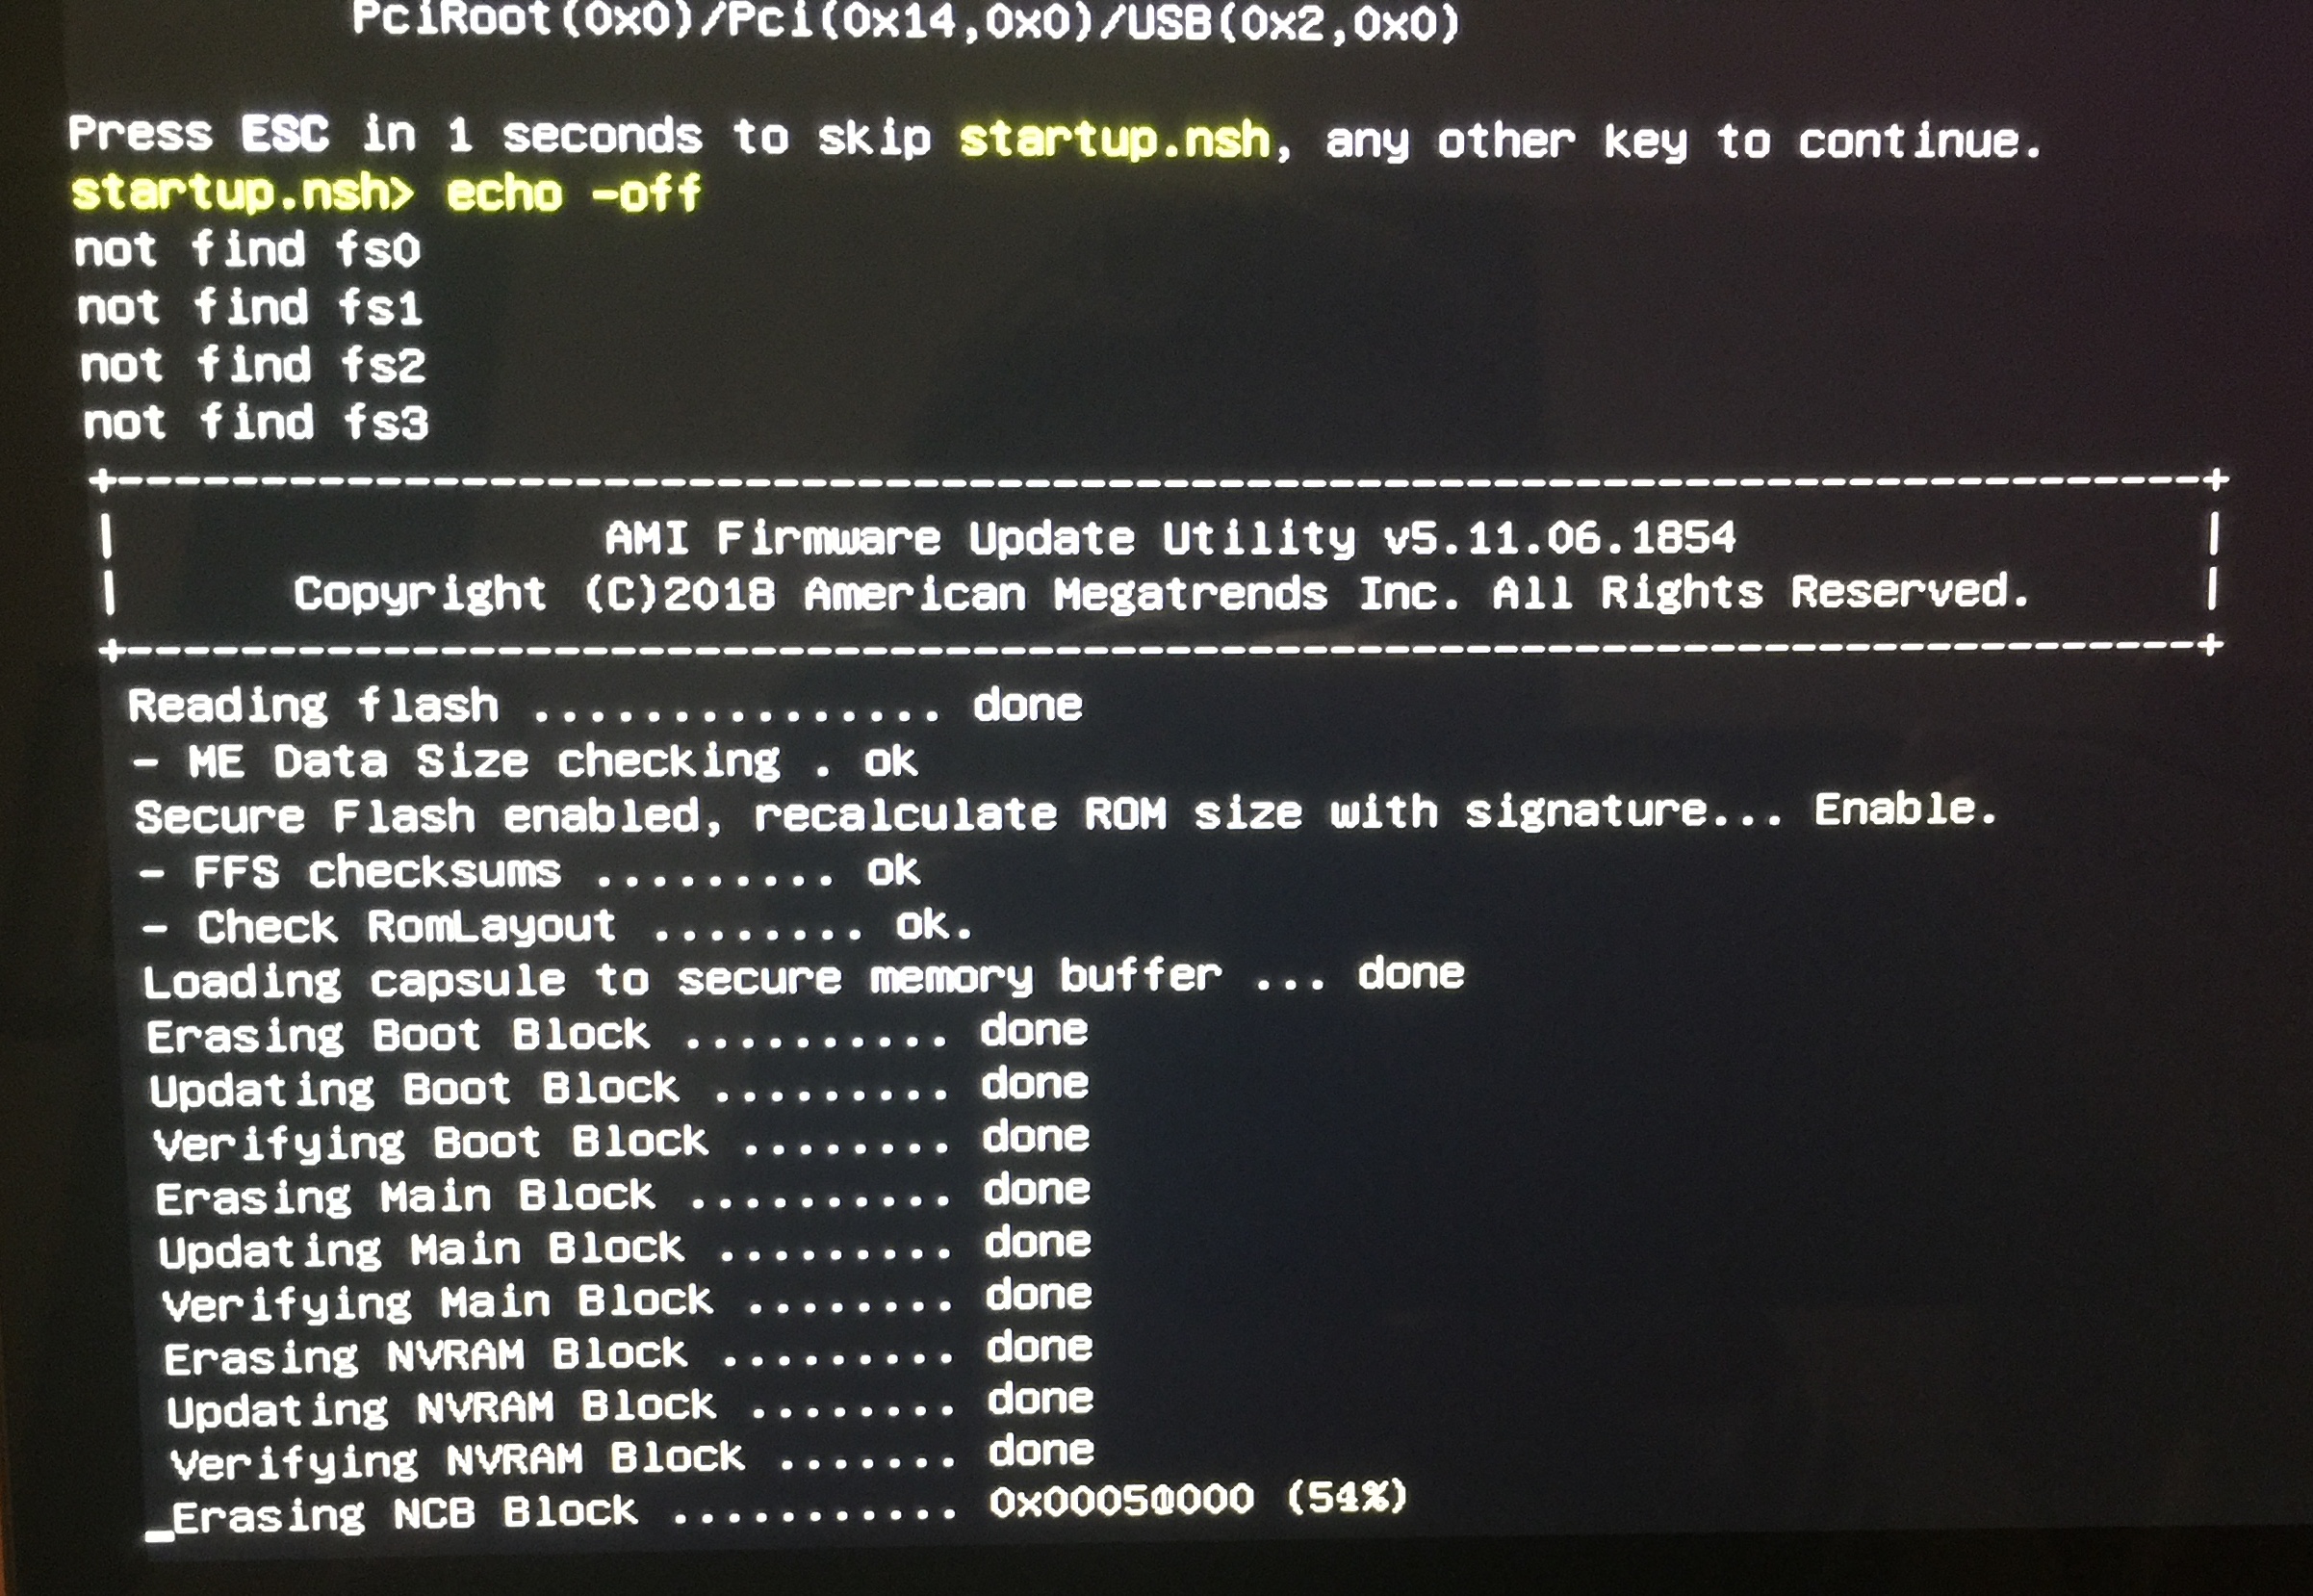
You will then see AMI Firmware Update Utility run something like this
-
Do not touch anything at all just leave it alone to finish, the system will shutdown and restart itself twice once to a static GPD logo then it will turn off for approx 5 seconds. It will then turn on show again the GPD logo and turn off. You should wait a further 20-30 seconds and then power up the laptop
-
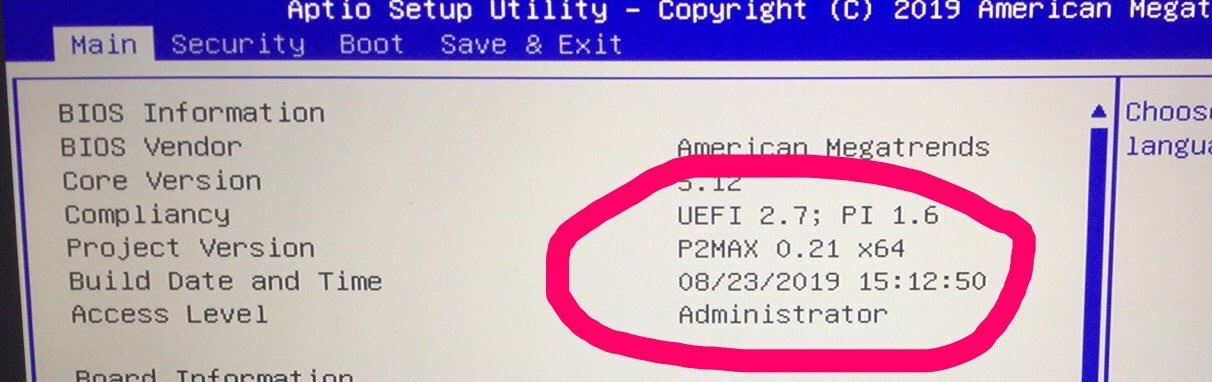
You can check to see the bios version number either with GPD Bios Version Check Tool located here http://www.gpd.hk/filedownload/28211 (Windows)


You can see here that BIOS shows 0.21, 2019/8/23
or you can restart the device and repeatedly tap Fn + Backspace key, this will show you the Project Version is P2 MAX 0.21 x64
I hope this is helpful.
Thanks.